


My Big Garden Projects for 2025
And updates from the nursery

Here I find myself at the end of winter, again, feeling like the last few months have dragged on for ages while also wondering where the time has gone. Spring is only a month away and I’m so excited for warm weather, fresh vegetables, and a new season. However, before I get there, I have a lot to do.
With last year's garden expansion, there are several projects I need to complete before planting time. I’m building ten new raised beds and designing their layout, which means I’ll need to fill them before the season starts. I also want to create a couple of in-ground beds—one for a corn patch and another to grow more pollinator plants. These beds will need irrigation, so I’ll be setting up a new drip system while also revamping the existing one.
In this post, I’ll share what’s happening in my nursery, what I’m sowing this week, and more about the big projects I’ll be tackling before planting time.
New Space
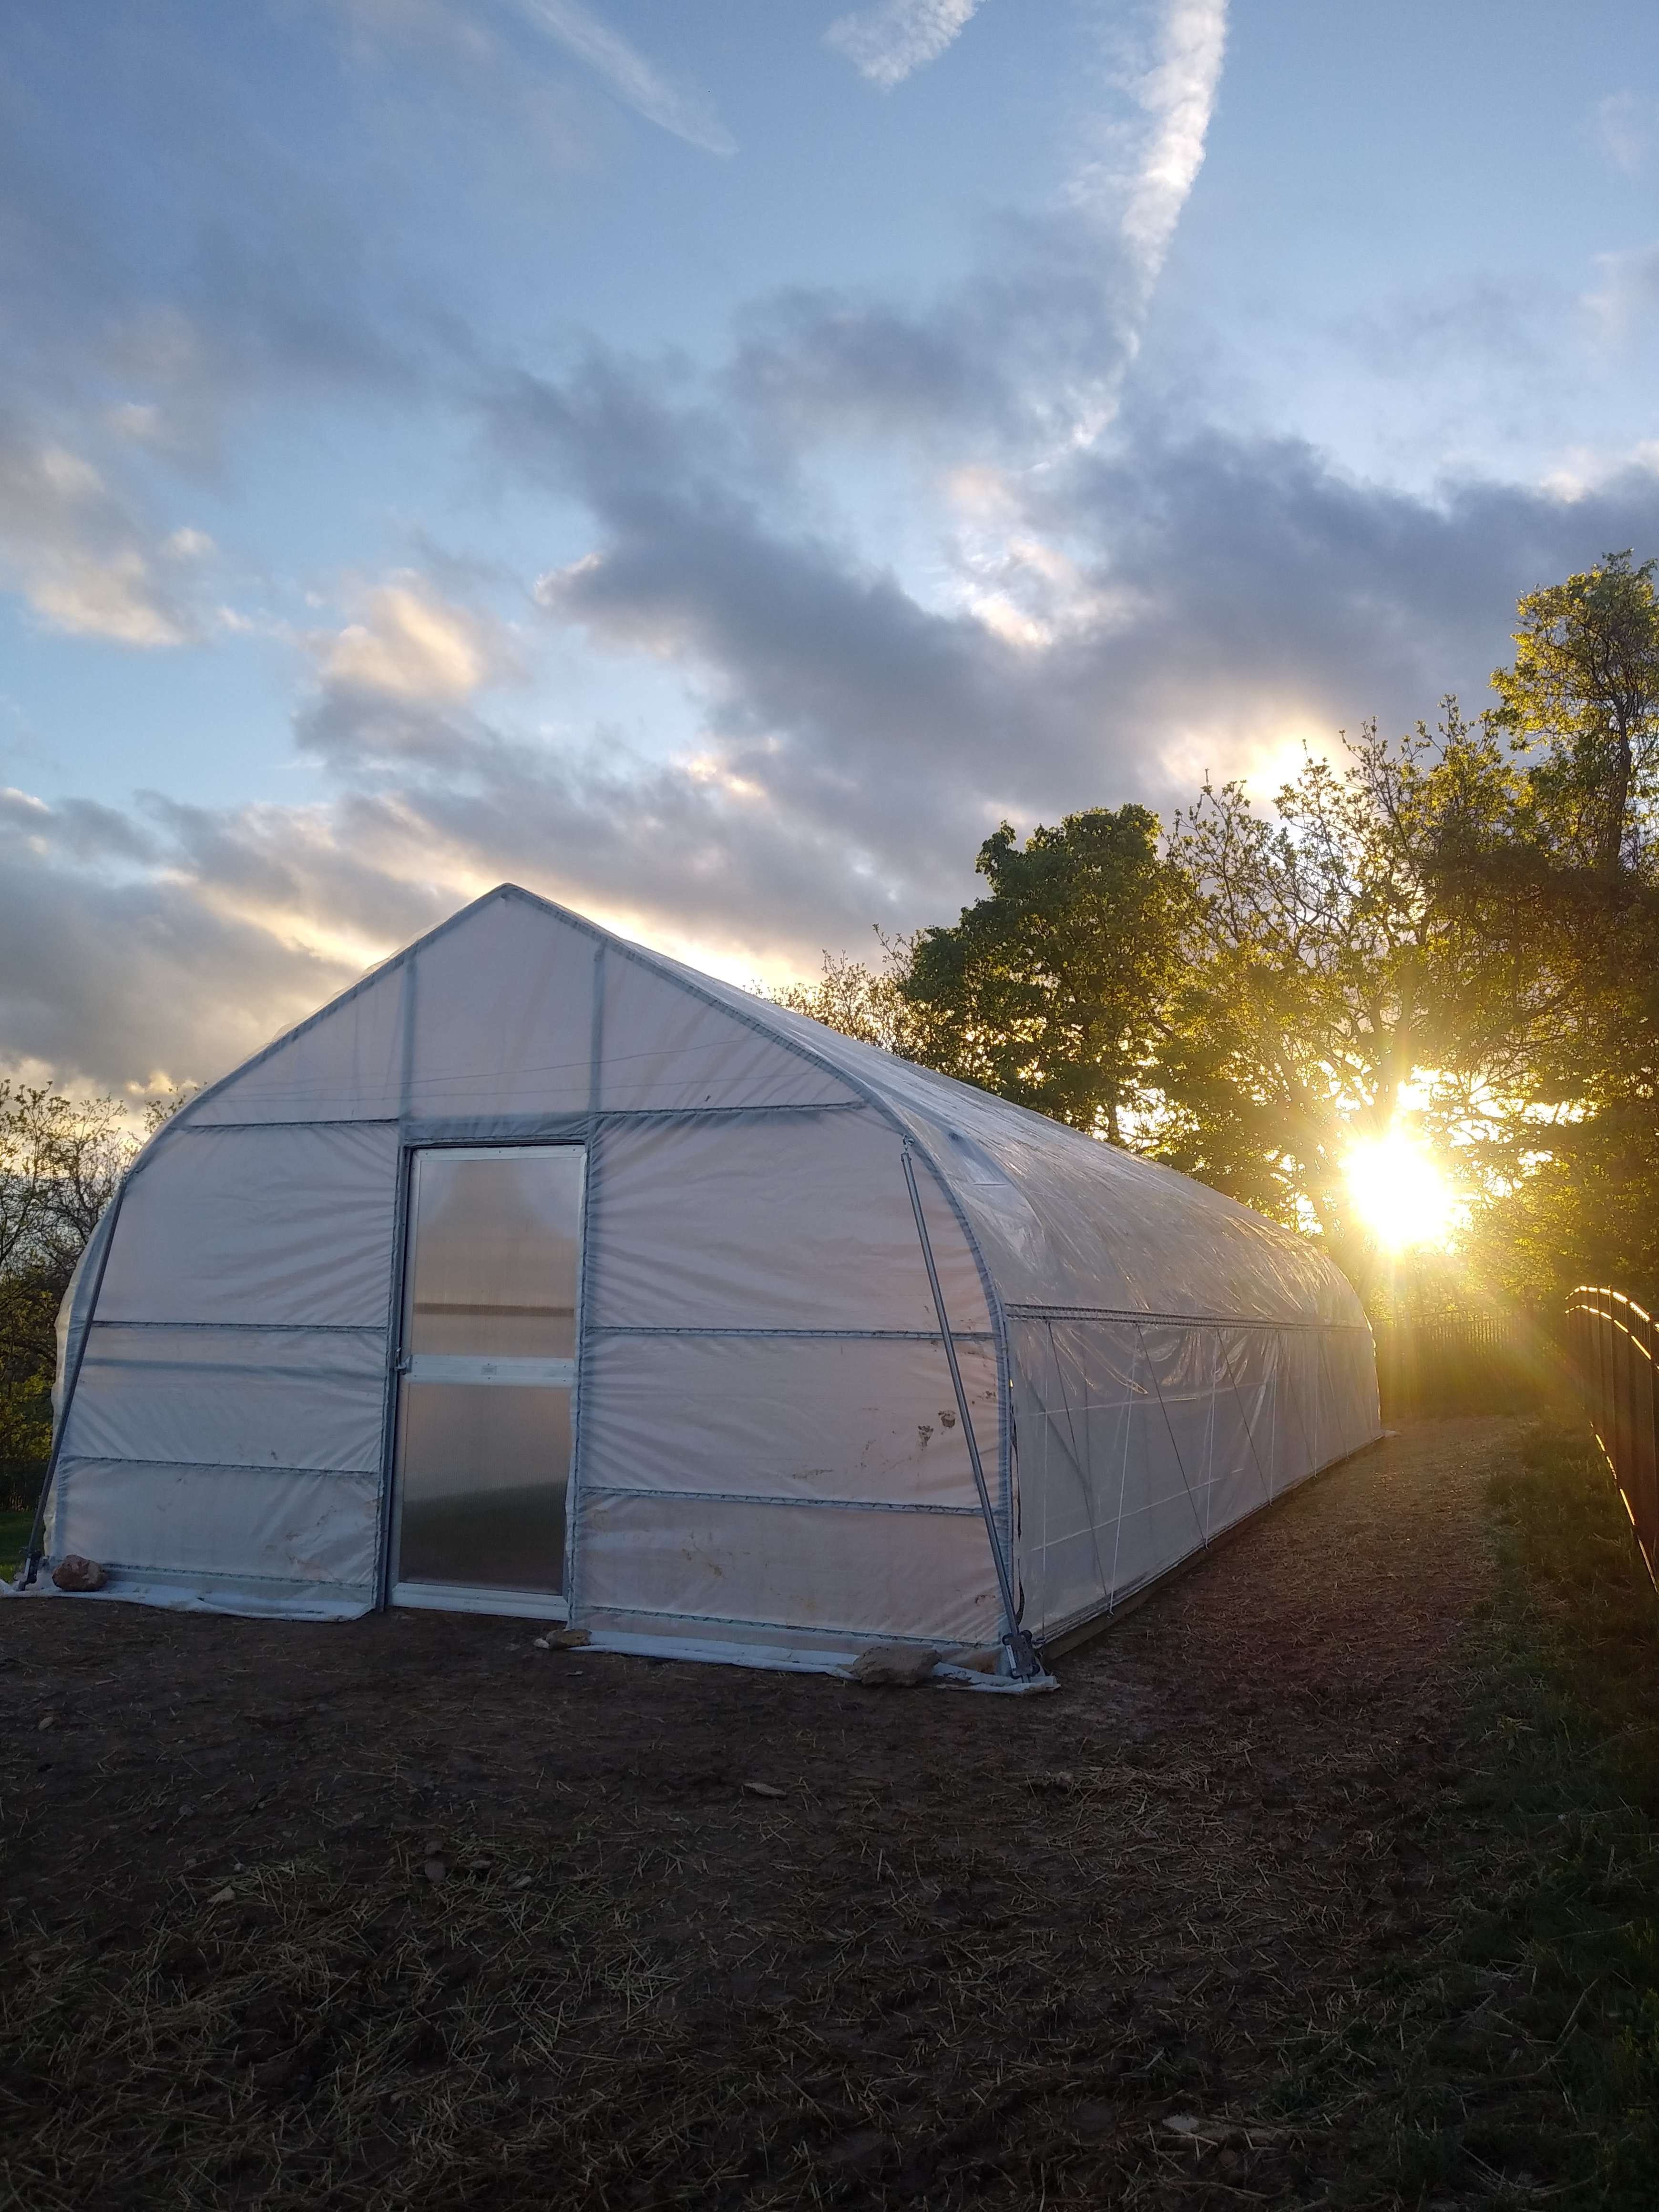
Over the last couple of years, my garden has expanded like a weed, but I think it is finally reaching its limit. At first, I started out with a single polytunnel that hosted about 250 square feet of garden bed. We leveled a portion of the backyard for it and used temporary fencing to keep the dogs out.

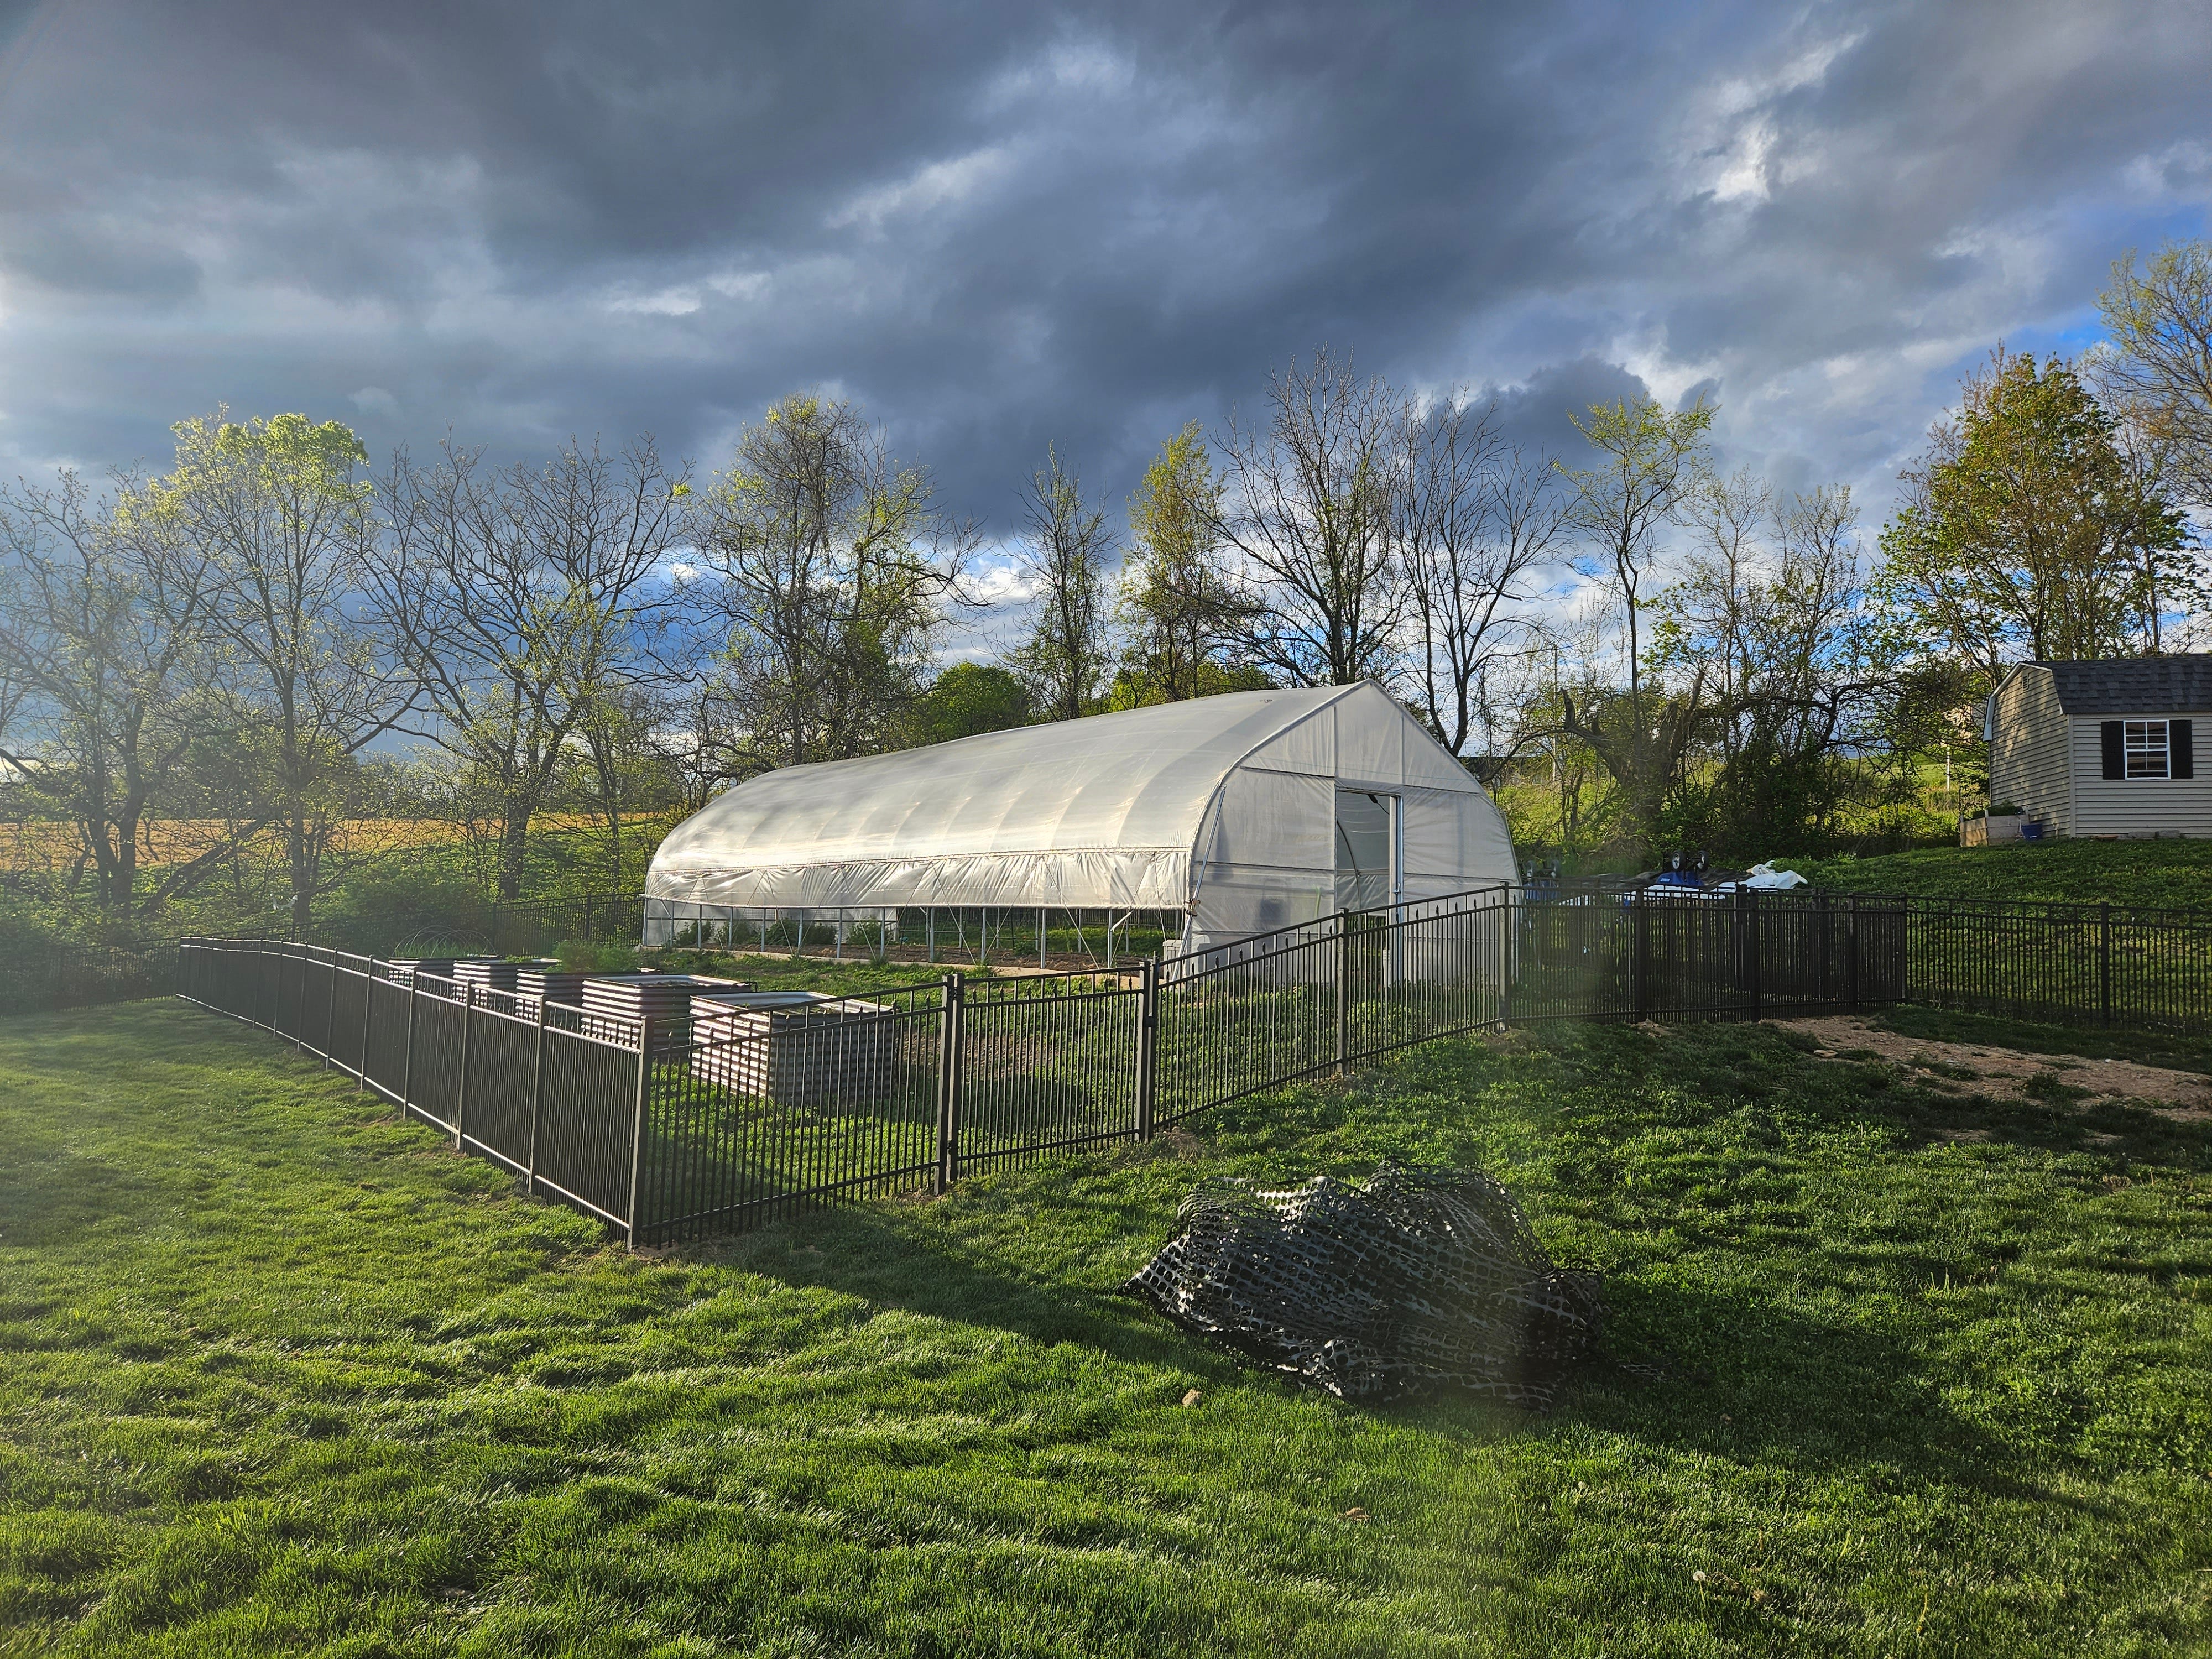
We had tremendous success in year one, which encouraged us to expand. We added five tall raised beds, adding another 100 square feet. A few months later, the fence was installed, giving the garden a more polished and permanent feel.
Expanding the garden
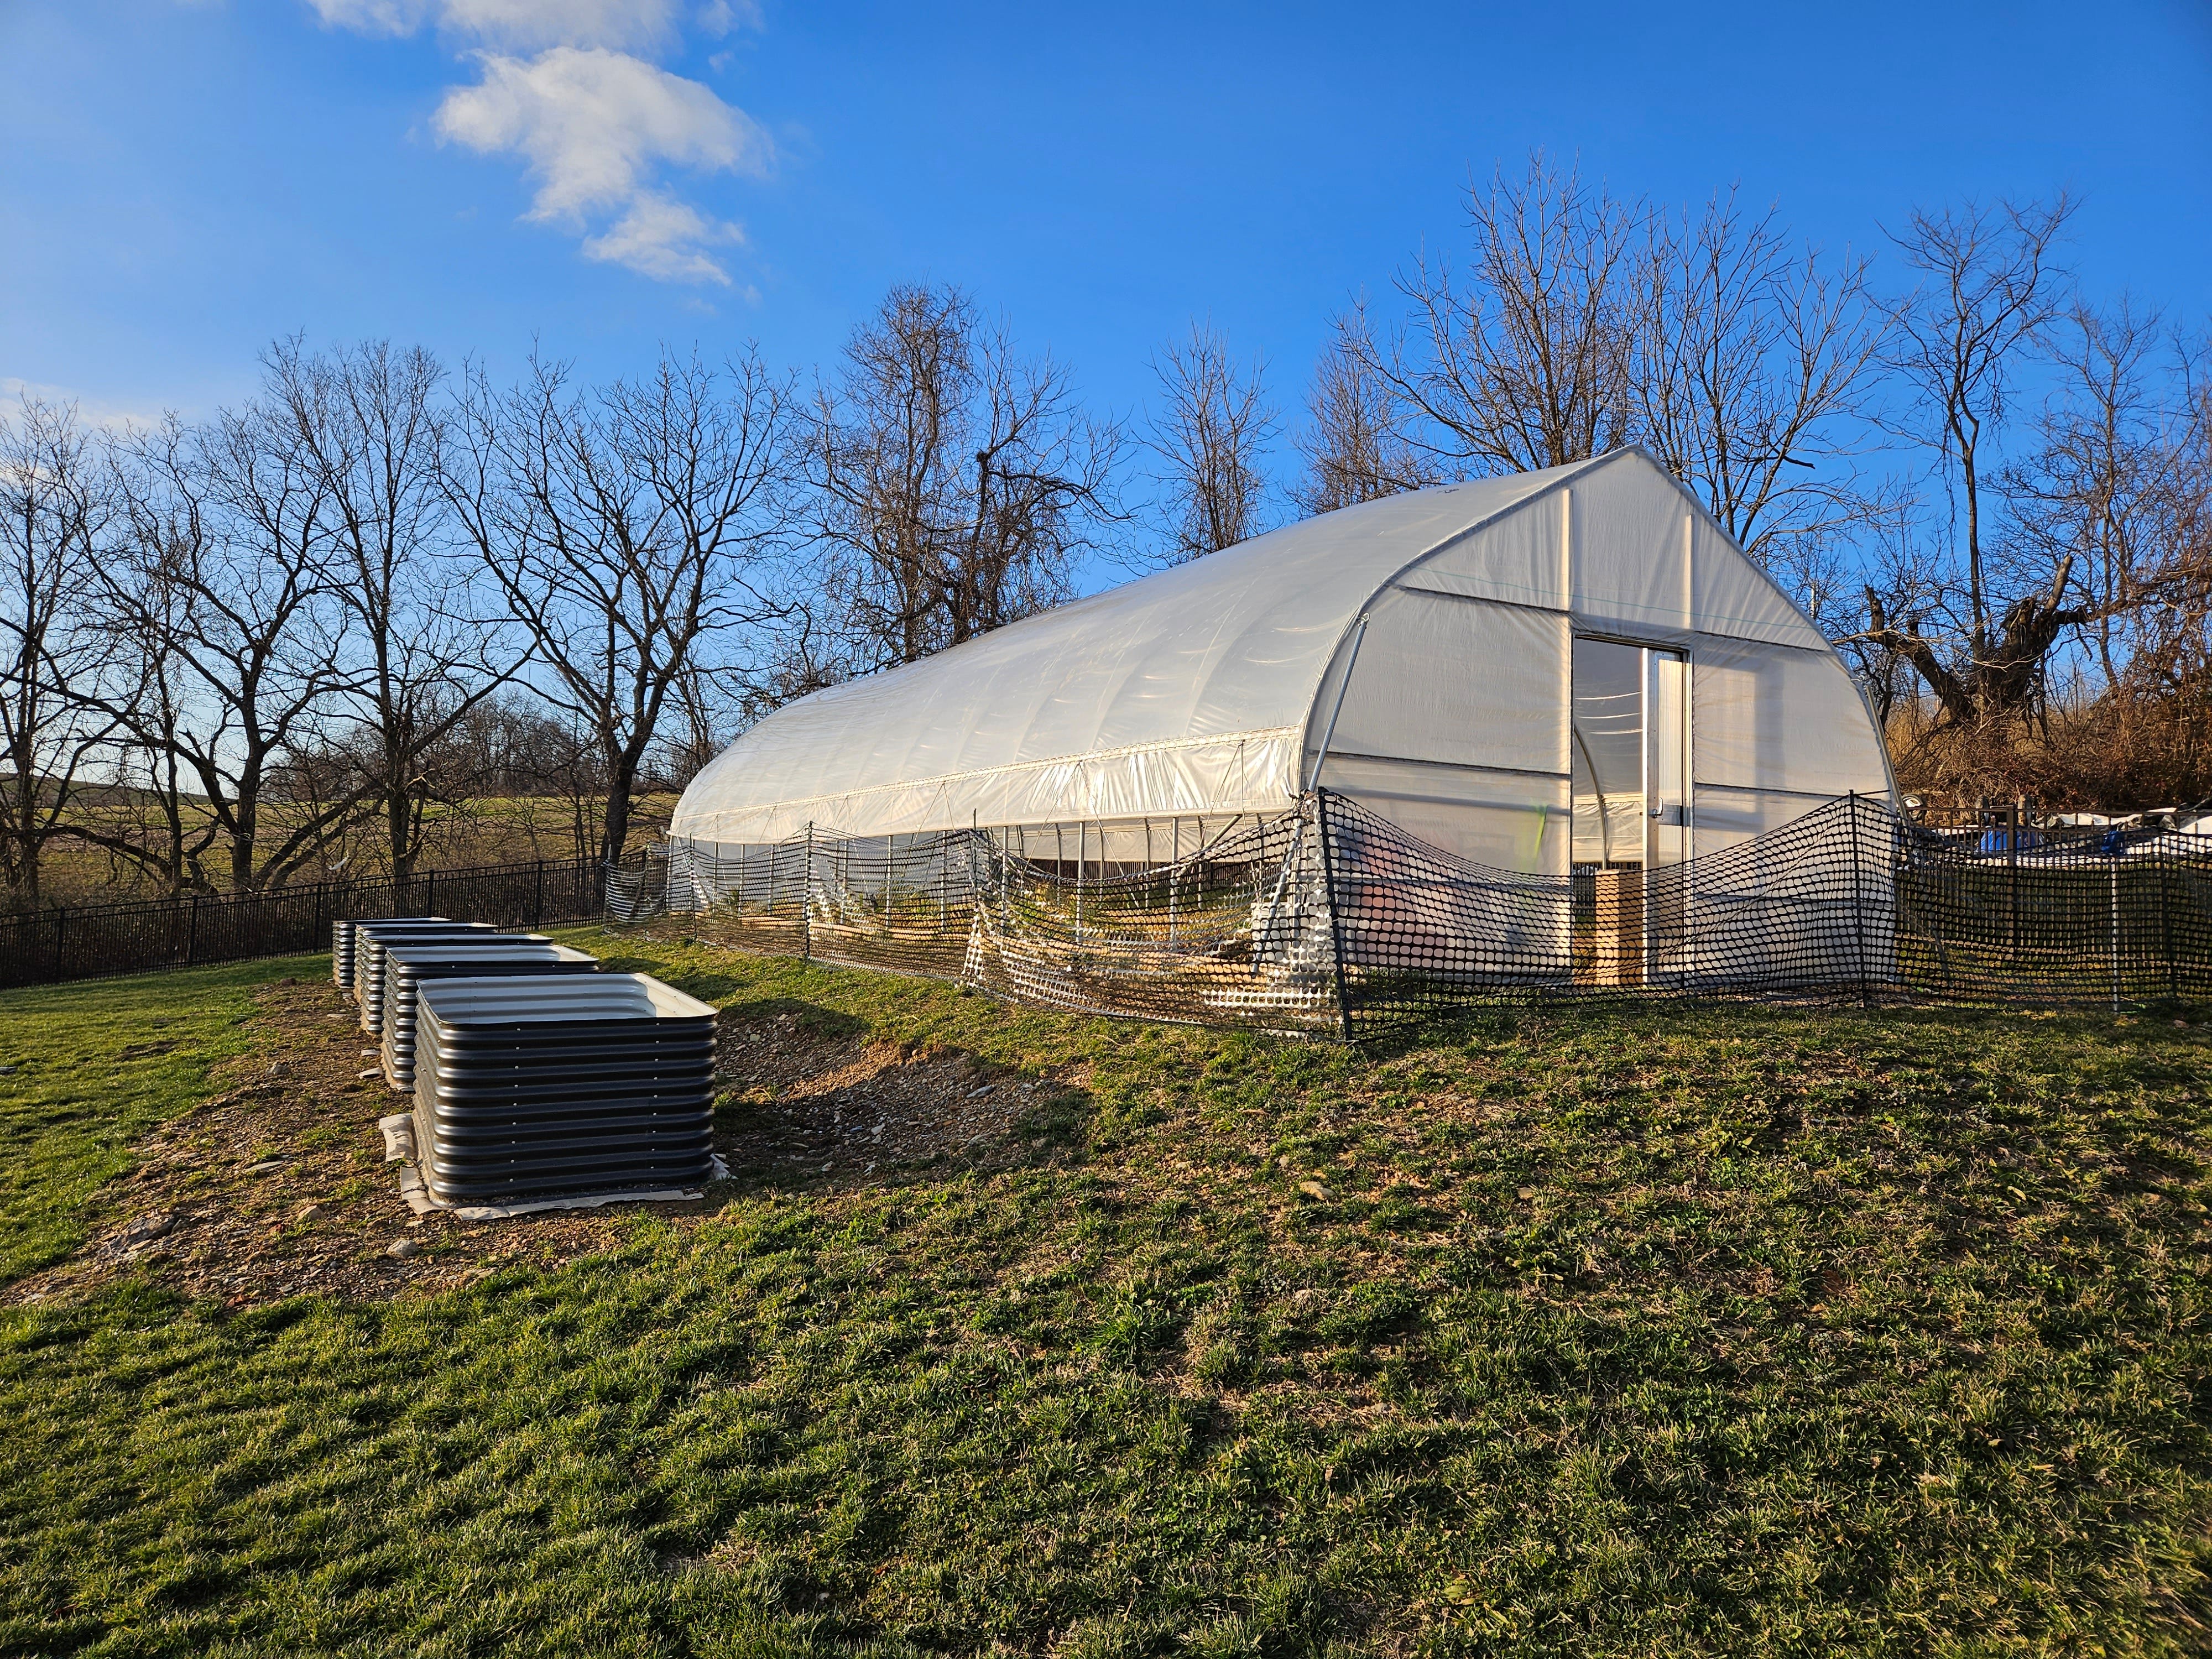
Late last year, my garden grew again. On the west side, we moved the southern fence and expanded further south. We had to level the slope somewhat, but I gained about 1,000 additional square feet of fenced-in space, which will now house my new raised beds.
The ten new raised beds will contribute another 296 square feet to my growing space. Before the expansion I had about 325 square feet, so this nearly doubles my planting area. On top of that, I still have my 100 square foot blueberry patch, and I’m adding a small but significant corn patch inside the garden fence, plus new flower beds along the perimeter.
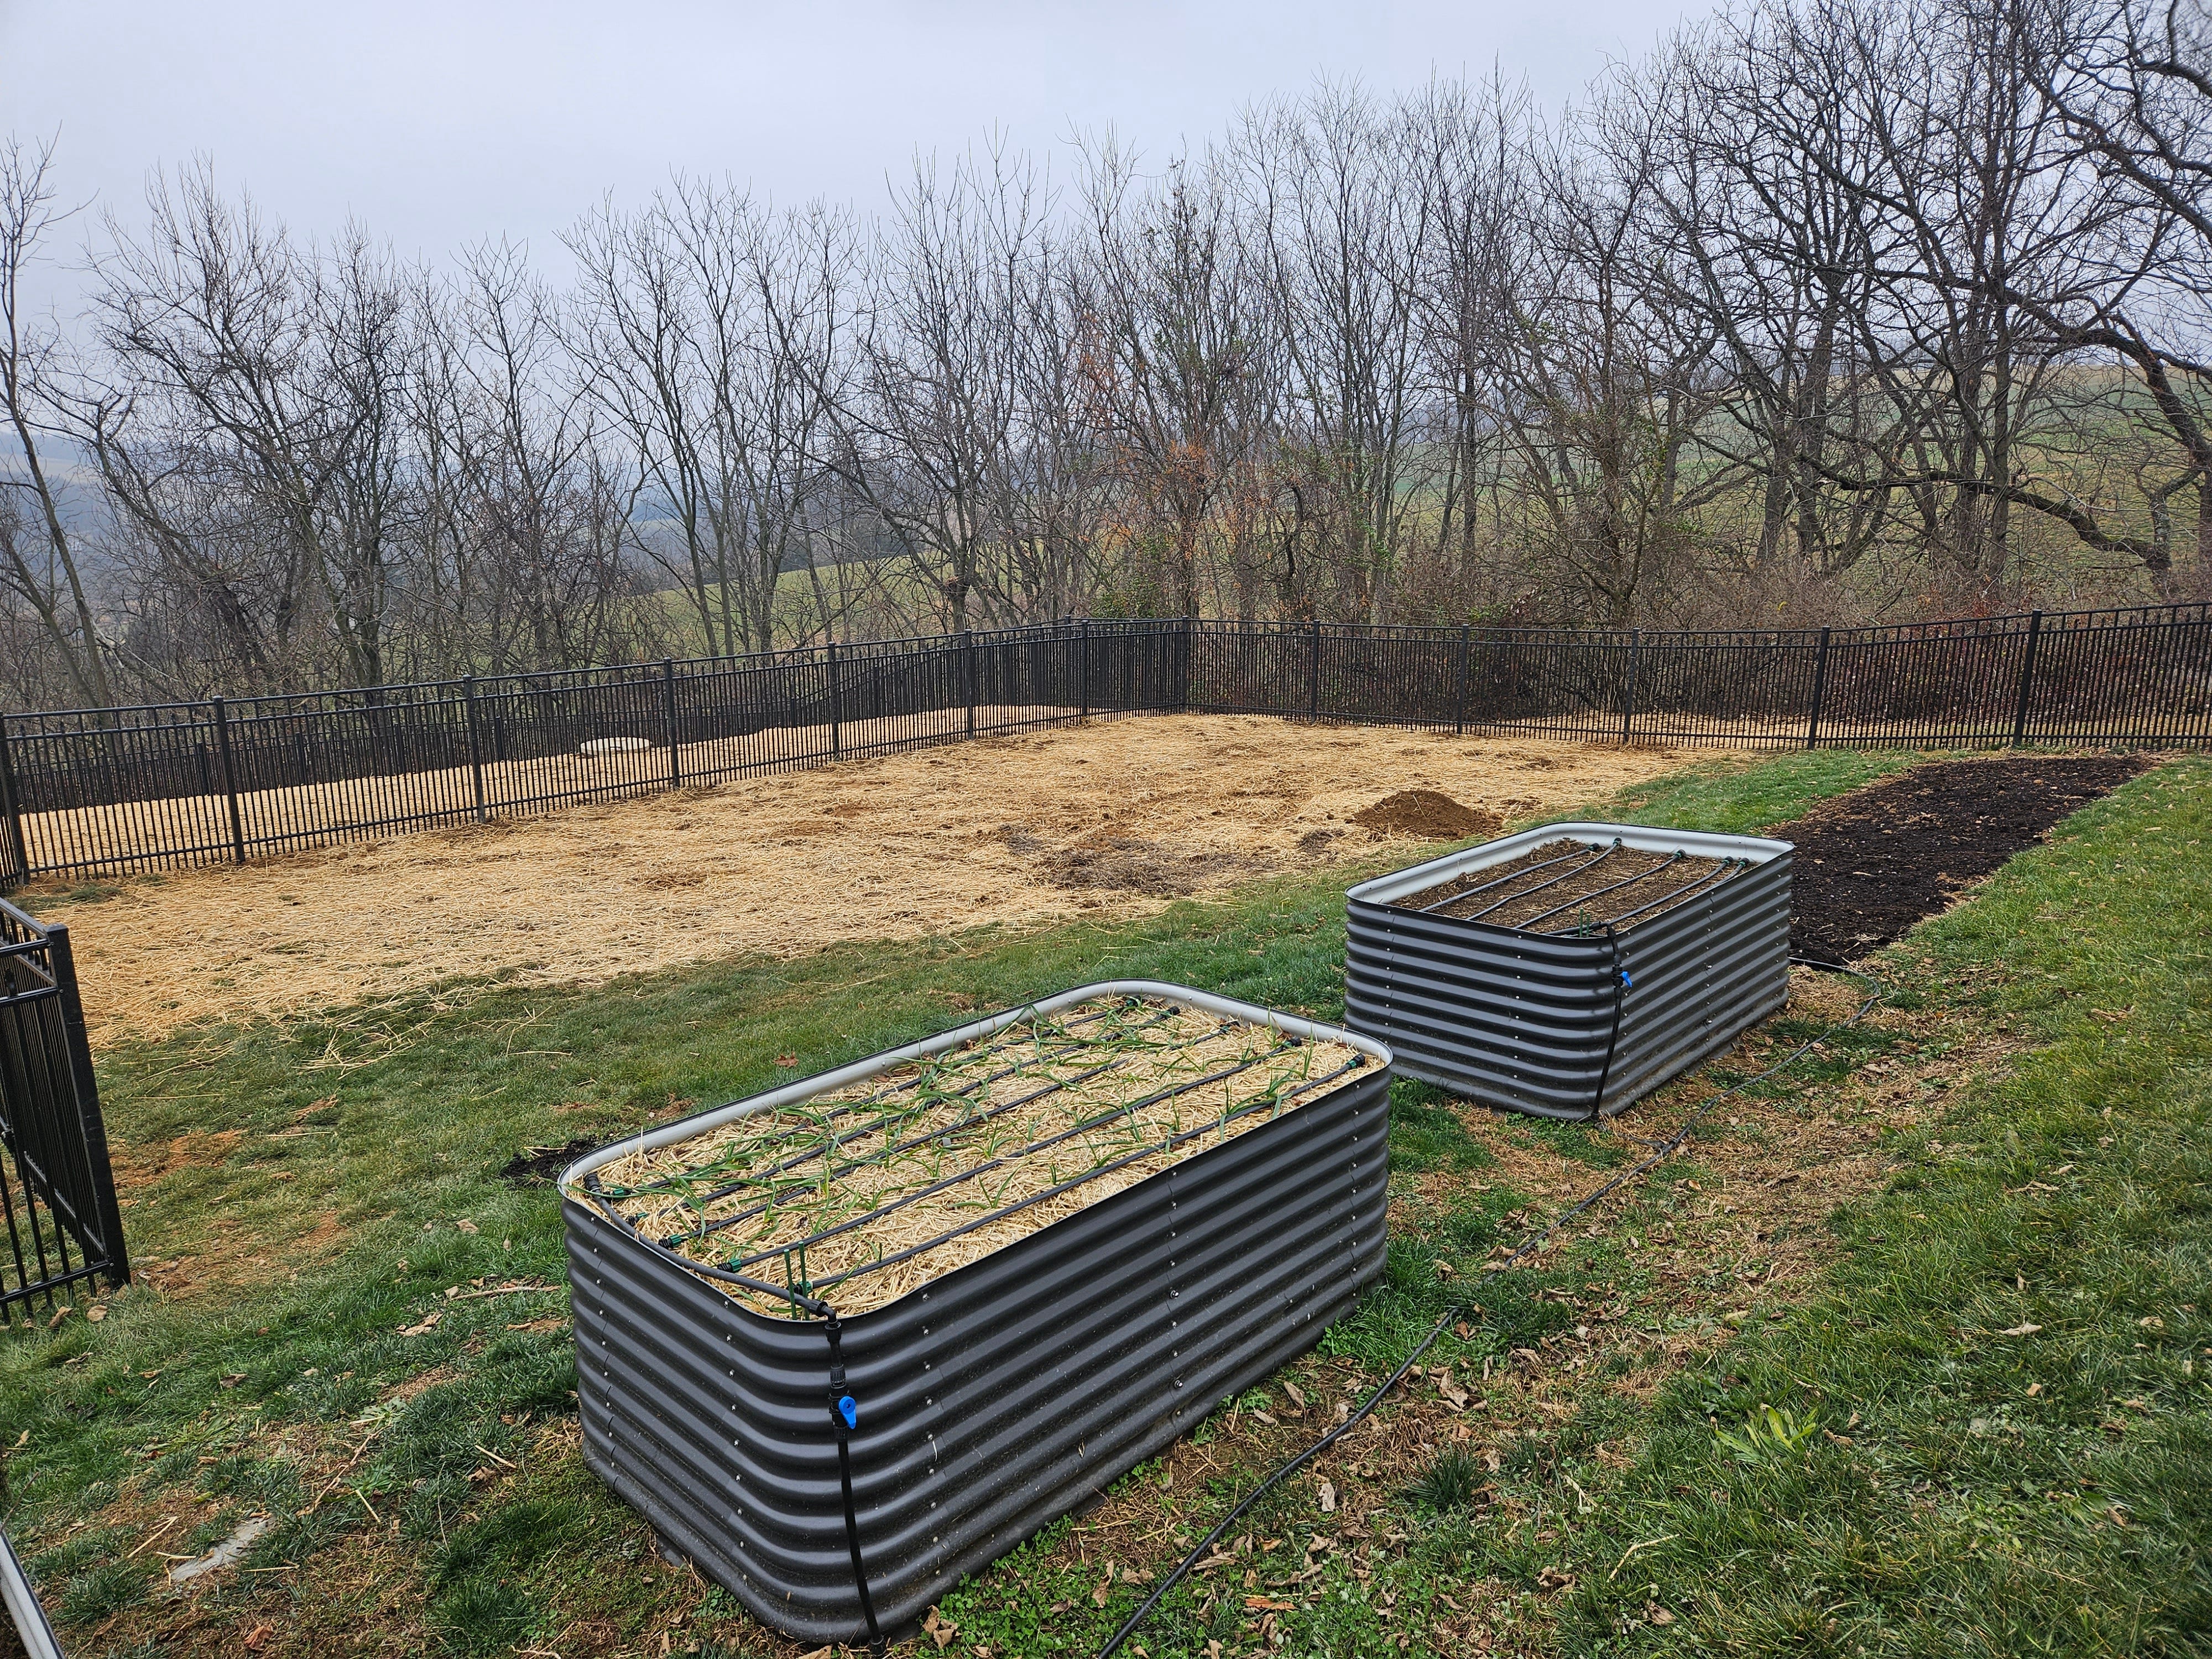
All at once, this is a huge expansion and is going to require a lot of muscle and time to mold it into a garden. Right now, I’m building the new raised beds. Eight of them are Birdie Beds (the shorter version of the ones I already have), while the other two are modular cedar frames.


Once all of the beds are put together and in the garden space, I can move them around until I like their positioning. After being filled, they’ll be a big pain to move around, so I need to make sure to put them right where I want them for the long-term.
Designing the garden layout
At first, I thought two rows of five large beds with a wide footpath between the rows would make the most sense for the area. In that arrangement, I was going to put a long but narrow corn patch on the west (top in the diagram) side of the raised beds to avoid shading them out.

I got a few of the beds set up and took them into the new garden space and noticed this layout was not going to work. The footpath wouldn’t end up being wide enough to feel comfortable walking through, making the garden feel cramped and unwelcoming. So, I designed a tentative alternative. After building the remaining beds I can make sure it will work before filling them.

Moving the corn patch allows me to use the entire south (left in the diagram) side for long and narrow 8x4’ beds. This gives me a little more freedom to open up the inside for a wider footpath. I’m somewhat concerned that the corn might shade out the westernmost blueberry plant, but I’ll test it this year and adjust in the future if needed.
Filling the beds
Some of my good gardening friends live in a wooded area, so they have a lot of leaf litter to send my way. Garden soil is expensive, so I like to put leaves at the bottom of my raised beds to decrease the amount of soil I have to use. Once I have a good 4 or 5 inches of leaves in each bed, I’ll fill them with garden soil from a local company that will deliver it to my driveway.
It always astounds me how much soil it actually takes to fill raised beds and how much that soil weighs. To fill these beds, I’ll end up needing at least 12 cubic yards of soil which weighs around 600,000 pounds. Luckily, I’ll be getting some help to move the soil into the beds once it has been delivered because I’m not ready to have severe back problems quite yet. With a more open area in the middle of the garden layout, I think we’ll be able to use a skid loader to haul the dirt into the garden area (thank god).
Perennial and pollinator patches
The garden expansion has provided a lot of opportunities to grow plants outside of my comfort zone—flowers, perennials, native plants, and ornamentals. There are a few areas that are currently dead spaces that can be filled, either this year or in the years to come.
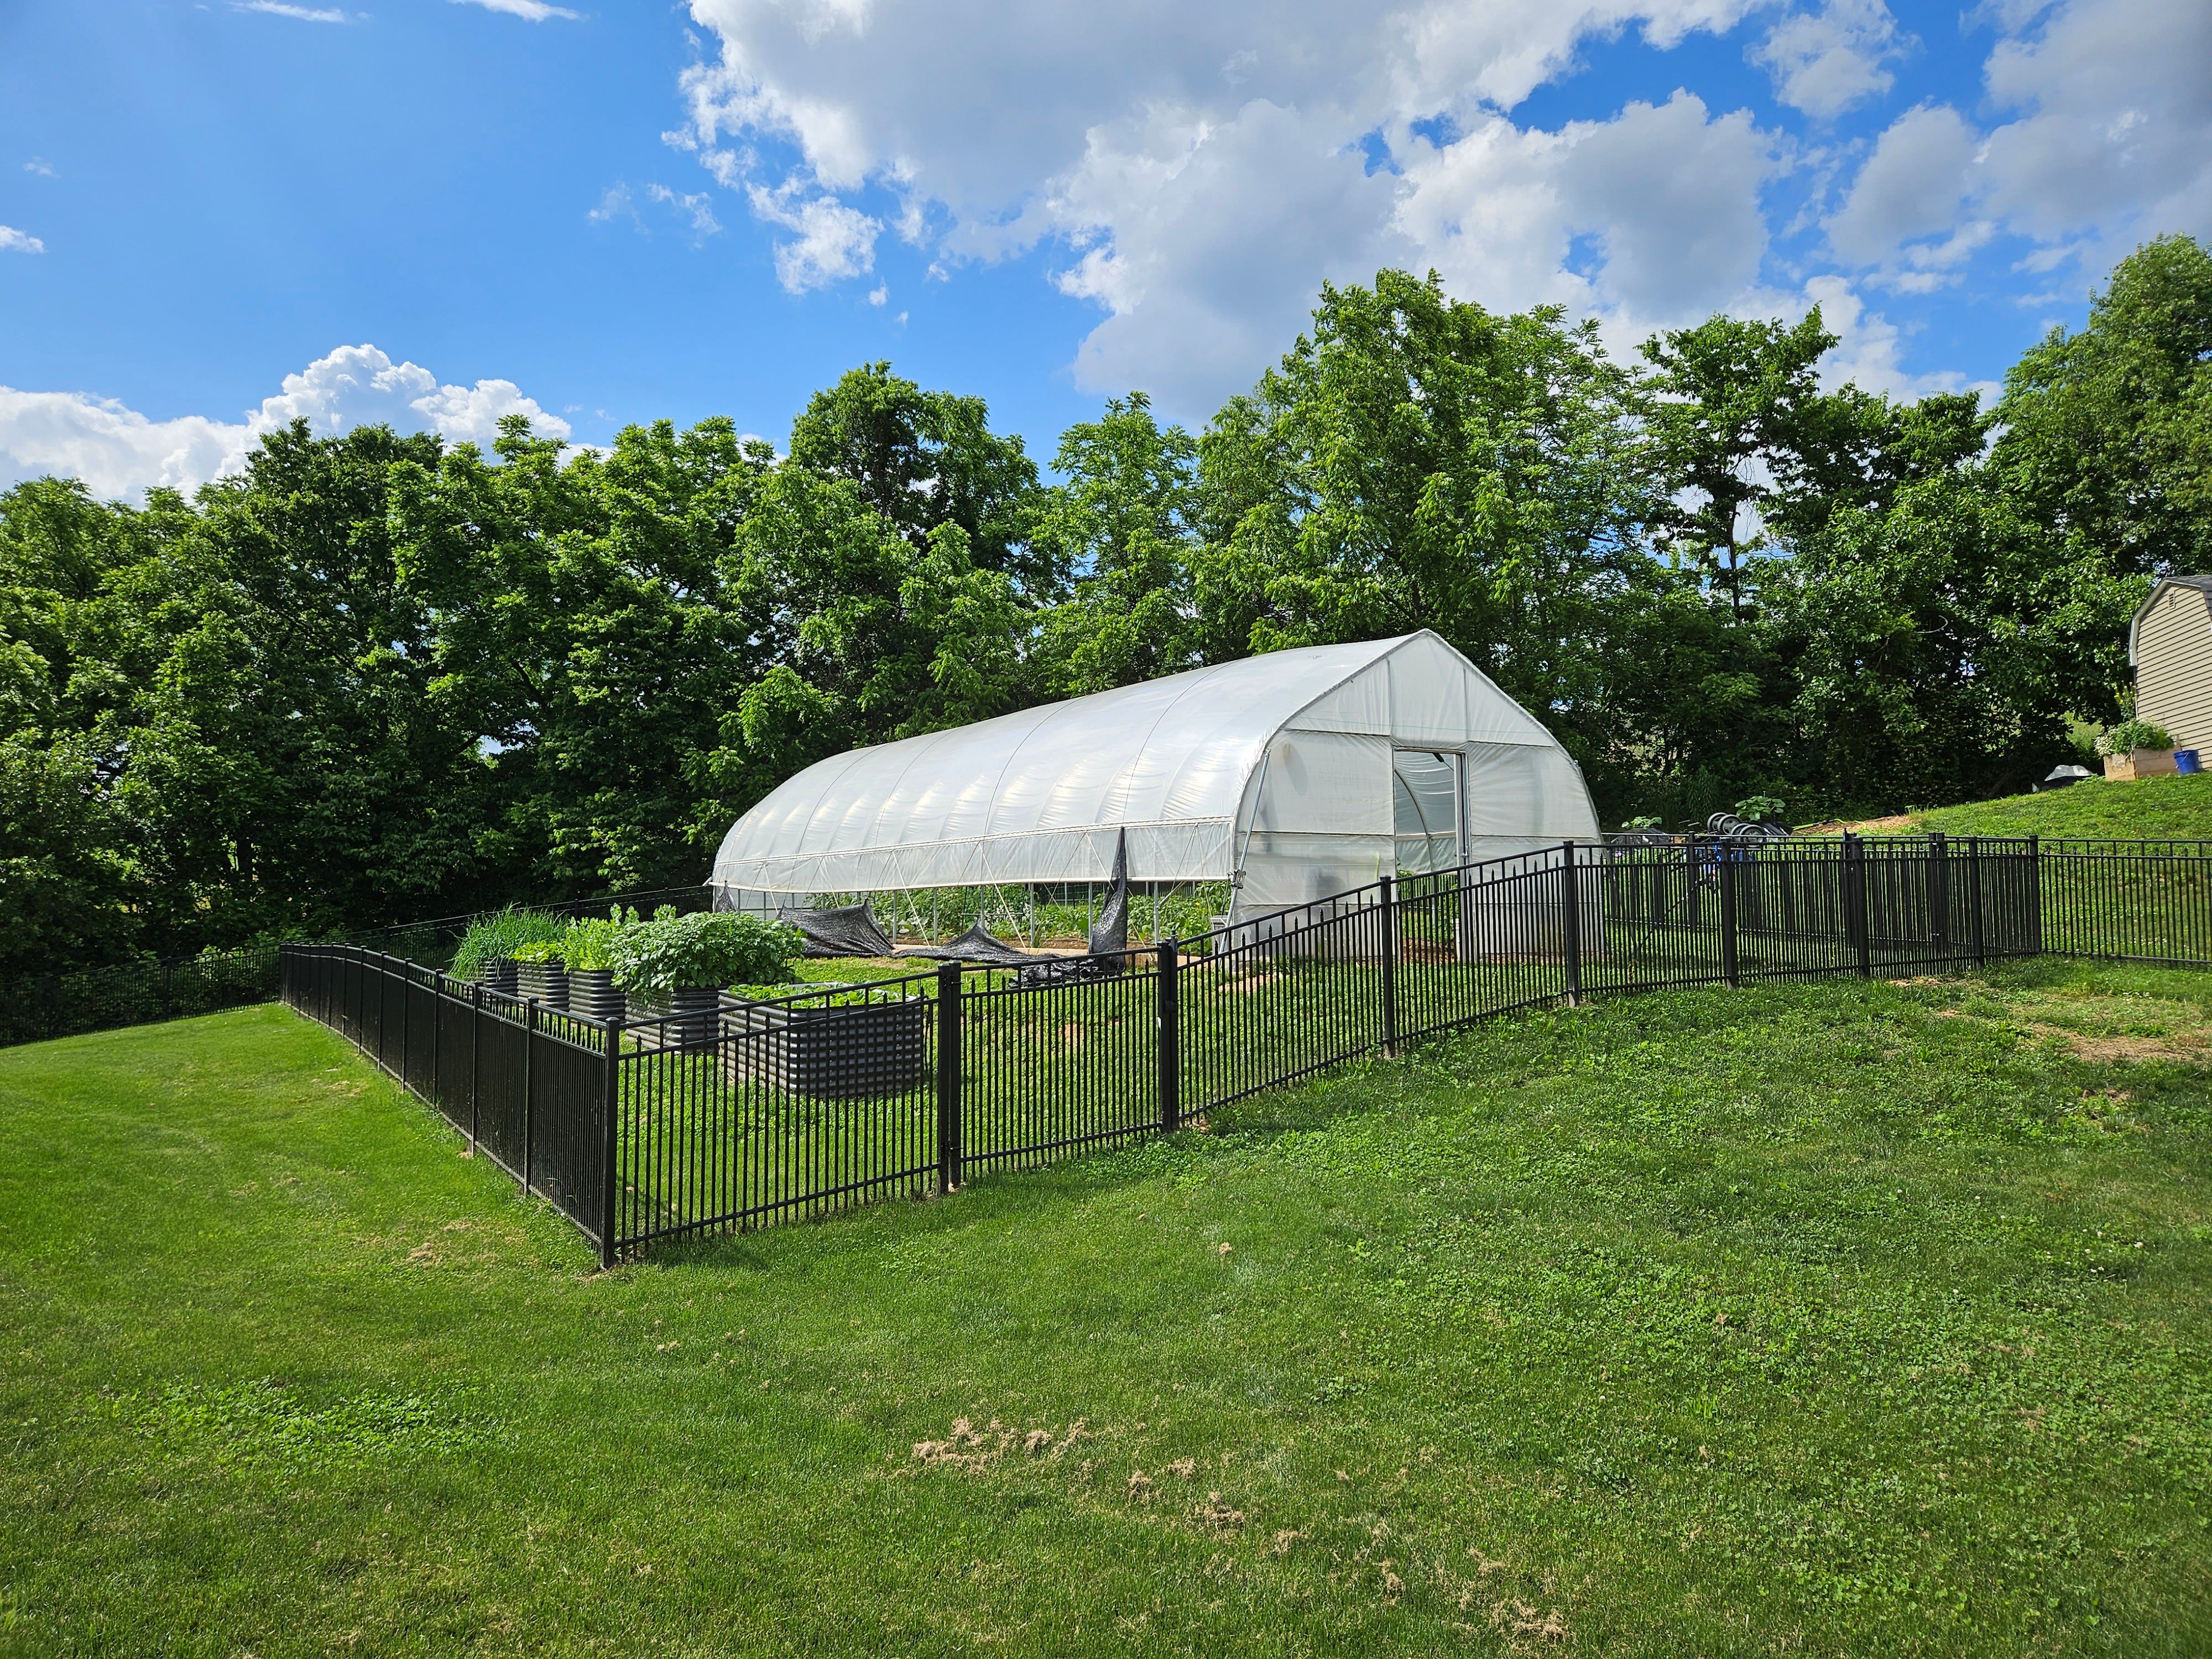
The southern fence line, against which the new beds are lined up, will be an awesome place for stout bushes and moderately low-lying or sprawling plants that attract pollinators, provide habitat and food for predatory and beneficial insects, and give the garden some aesthetic appeal. As it stands, my garden is extremely utilitarian and can benefit from a little whimsy and beauty.
I’m intending on putting in some comfrey (for compost tea), too, but also planting lots of lavender, borage, salvia, echinacea, alyssum, marigold, penstemon, snap dragon, scarlet sage and other flowering plant varieties. As the years go on, I hope to collect beautiful perennials and native plants that can replace the more common annuals like marigold. Over time, I’ll also focus on honing in on what the pollinators in my area visit the most.
Drip Irrigation
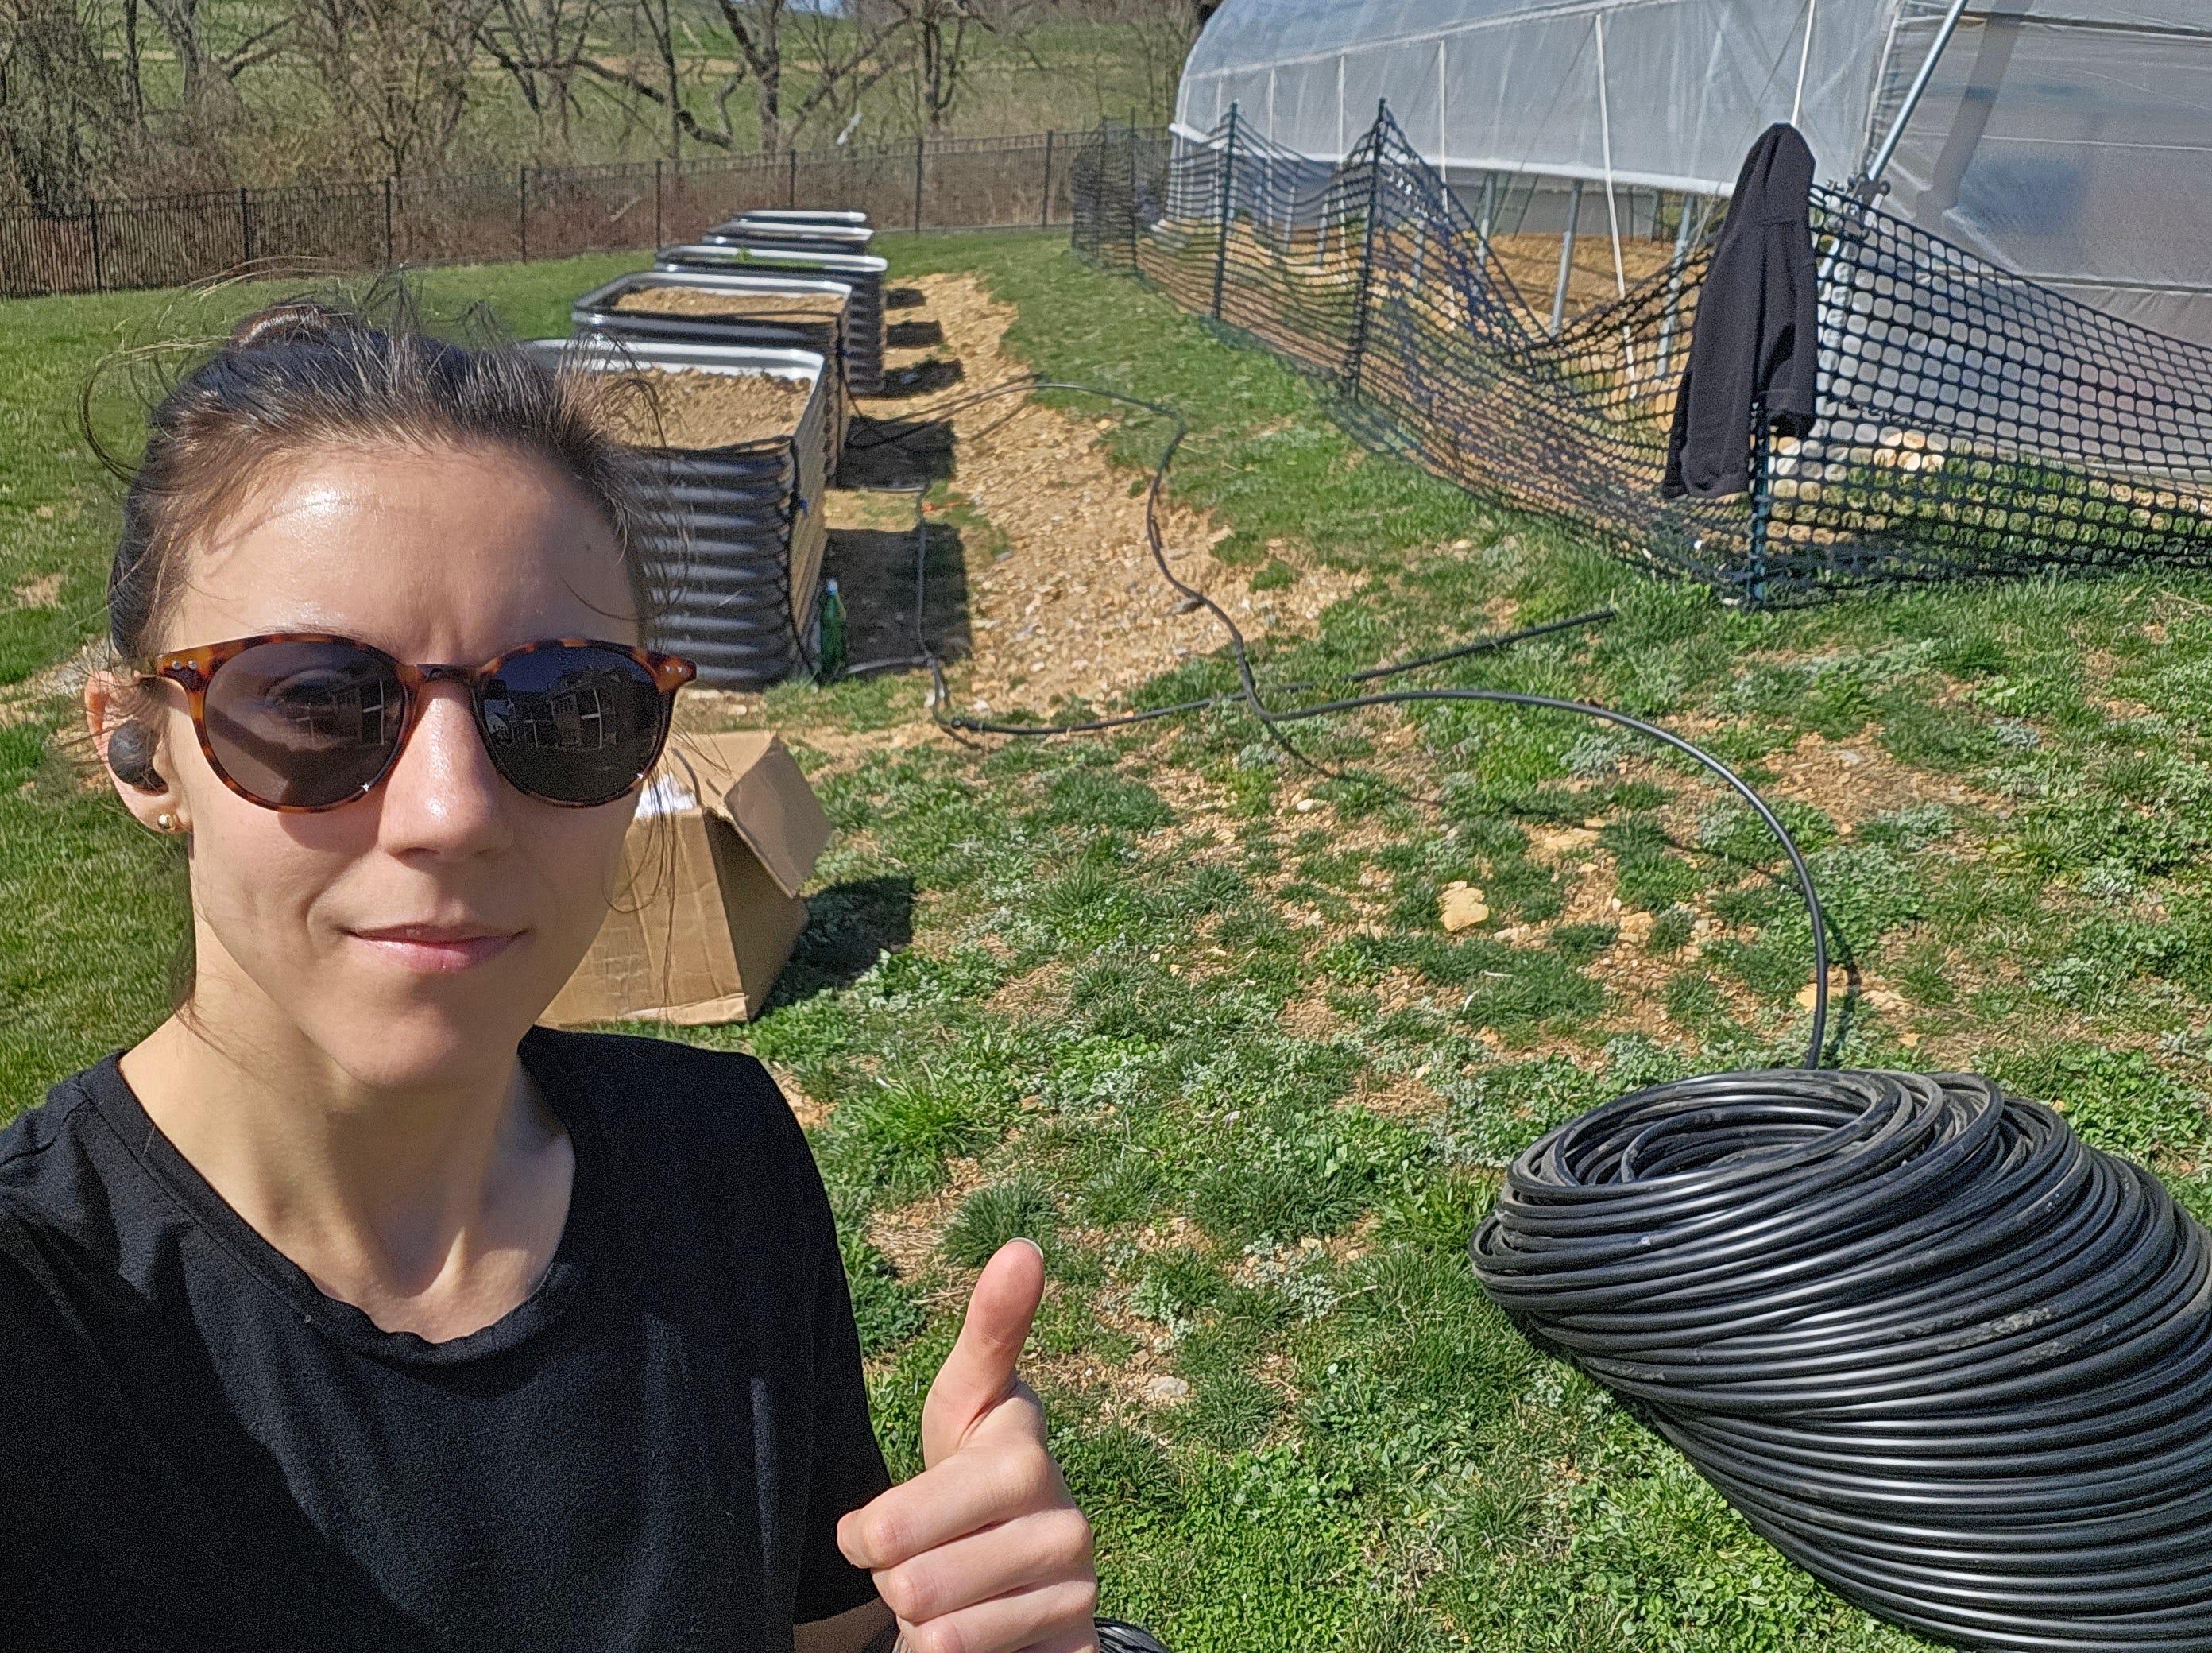
I have a good drip irrigation system set up for my existing, tall raised beds. However, I installed it using drip tape that has a seam, which caused some leakage and poor pressure in the tape. So, I’ll be installing seamless drip tape in my new drip irrigation system for the new beds and I’ll be replacing the old drip tape with the seamless drip tape.
The new, seamless drip tape has 6” emitter spacing which will also end up working better for my set up. My old tape has emitters at every 8” which worked fine, but left some dry spots between the emitters. With 6” spacing, I’ll be able to plant crops that are spaced more closely together, like radishes and carrots, without worrying that some are under-watered because of the wide emitter spacing.
The expanded area is very large, and my water pressure won’t be able to handle the entire garden at once, so I’ll be installing an entirely new and separate head for the additional garden area. The head is the beginning of the drip system, consisting of the backflow preventer, water timer, filter, pressure regulator and is attached to the water source/spigot. To ensure that there is enough water pressure in each drip system (the old and new), I’ll make sure to schedule the automatic irrigation at different times, with a small buffer zone between the two.
Root Cellar and Potential Permanent Foot Path
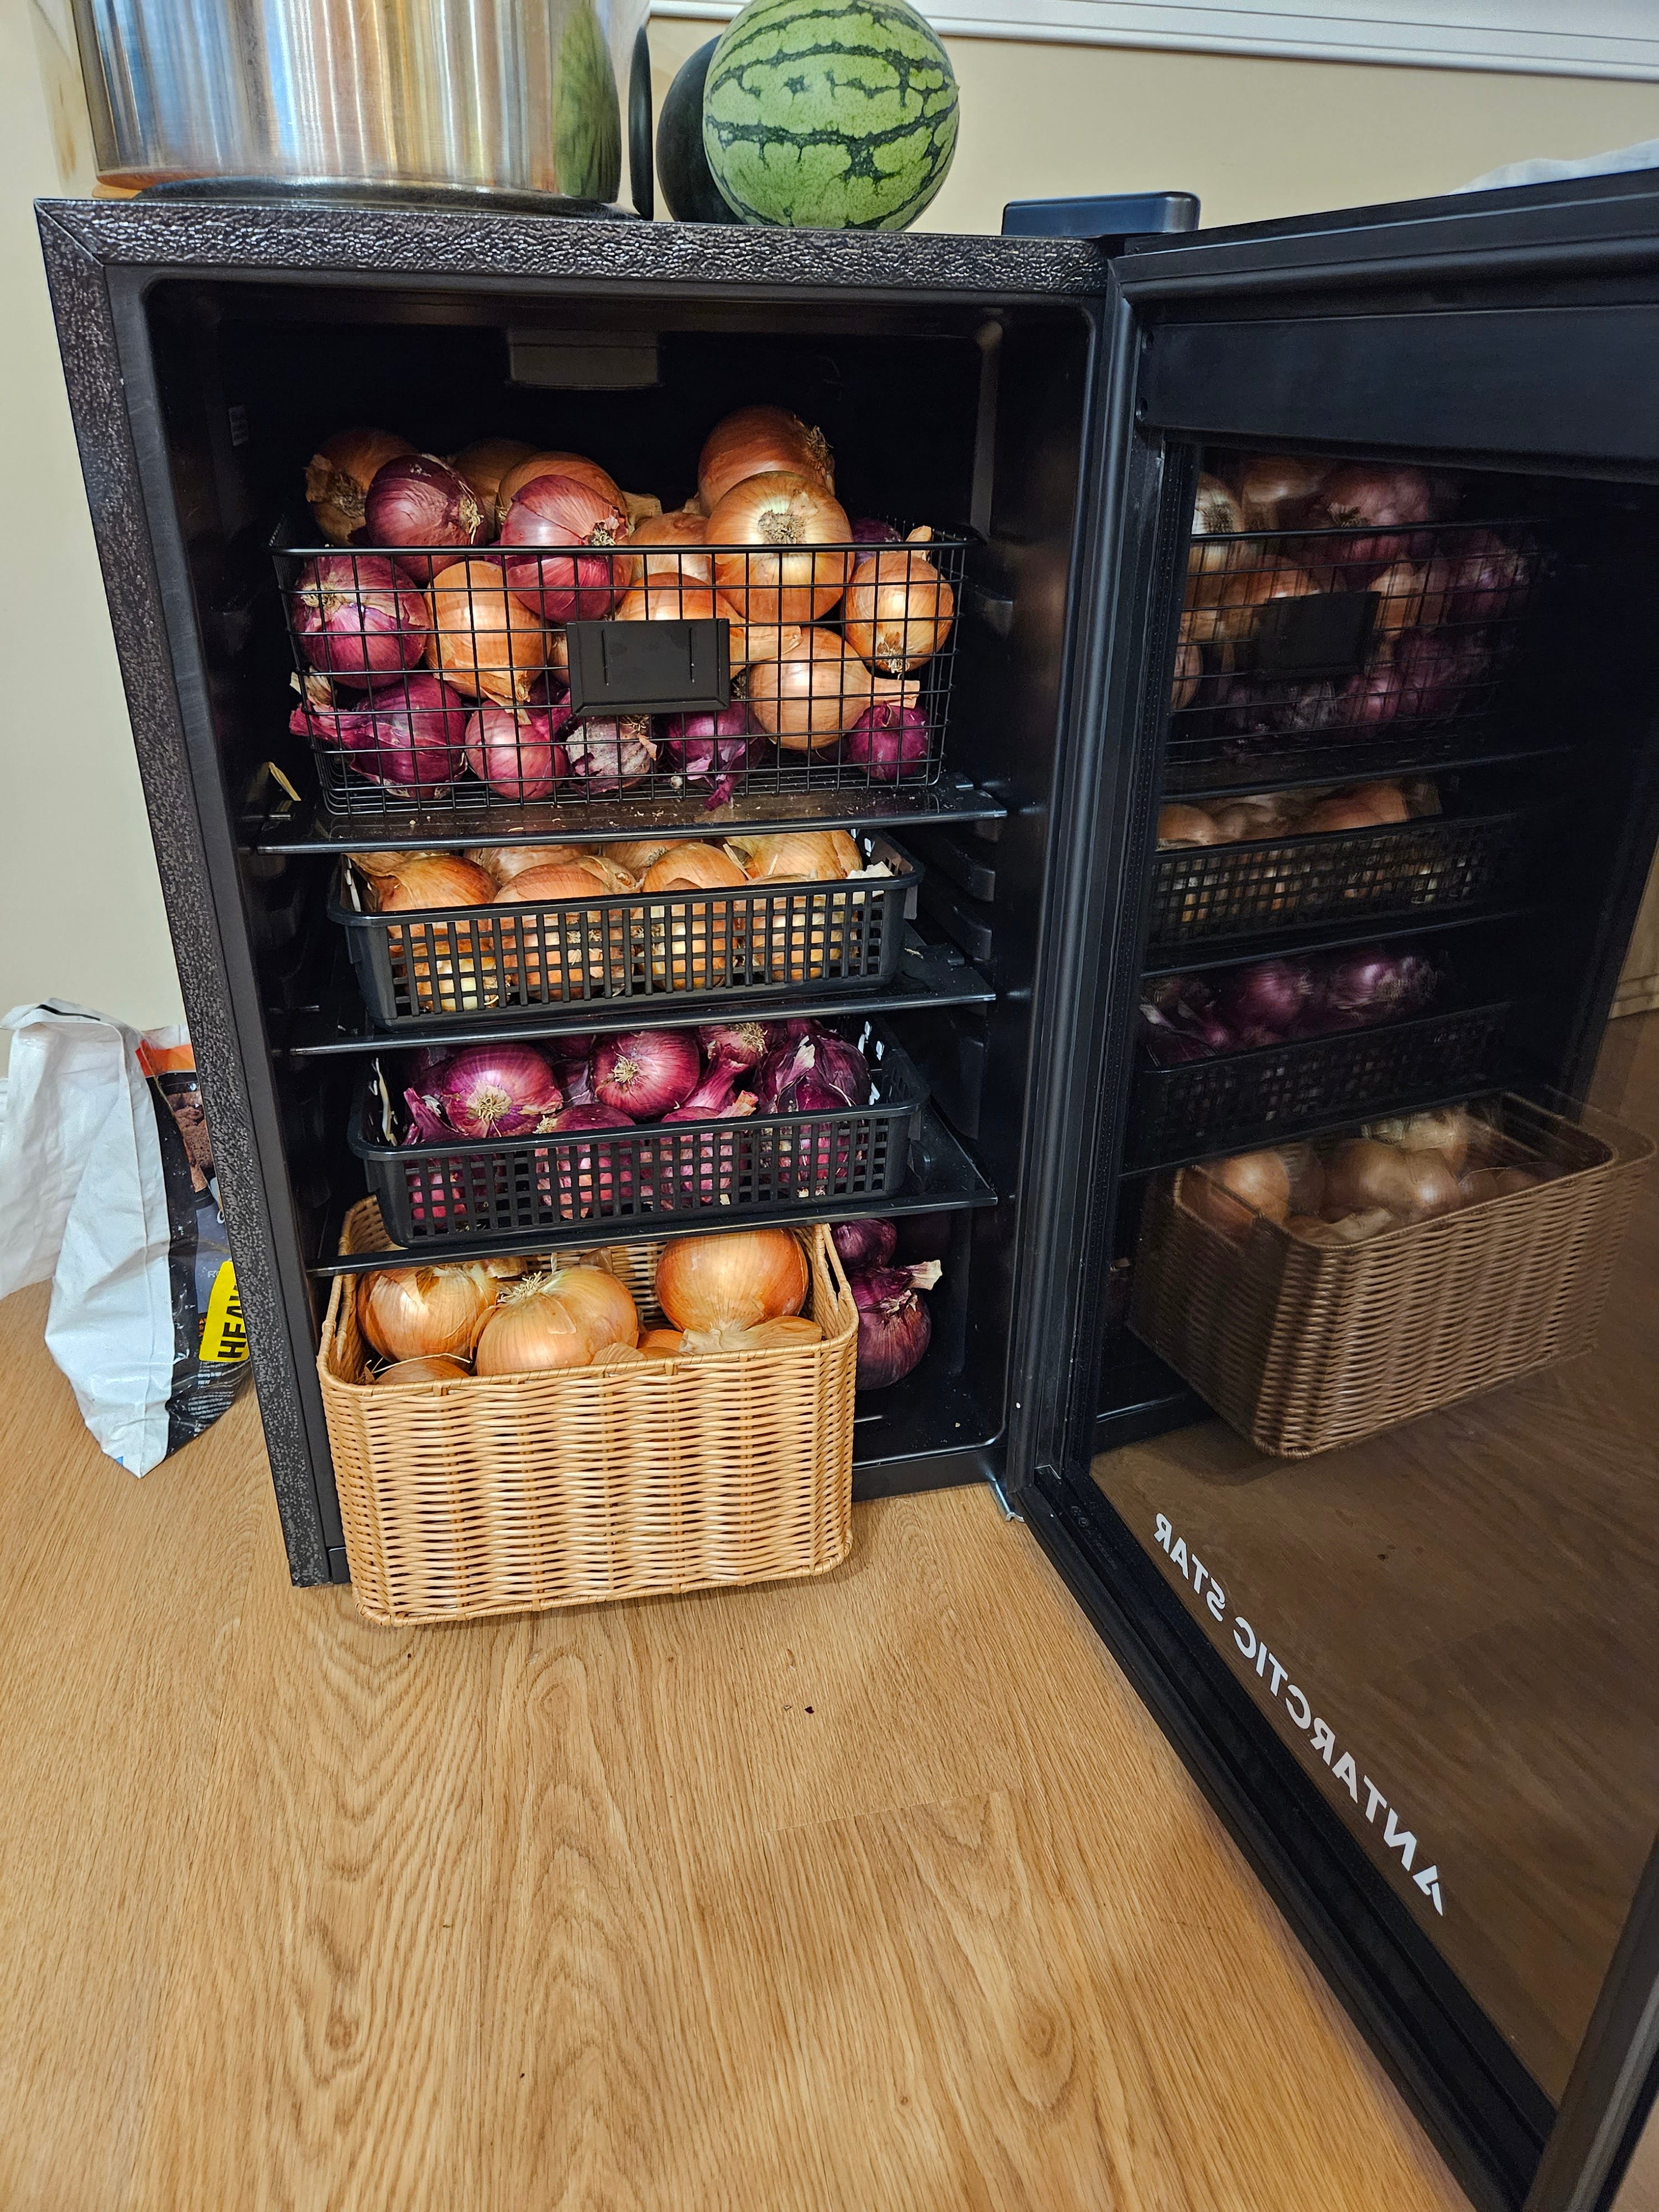
Our onion and potato crop was very successful last year, which made storing the harvest a challenge—a problem I would never whine about having. We don’t currently have a root cellar, so we had to improvise and used some wine coolers to keep the onions and potatoes in good storage condition over the fall and winter.
The wine coolers worked better than I expected. Our onions stored, and are still storing, extremely well. I’ve only seen one or two that broke from dormancy so far. The potatoes fared slightly worse but made it to December without breaking dormancy. We added blackout material on the window to exclude all light and set the temperature to 45 degrees Fahrenheit. The only thing we could not control for in the wine coolers was humidity. So, while the wine coolers are a great and viable alternative, the naturally humid and cool environment in a root cellar will facilitate much longer storage of these crops with much greater efficiency and at a lower long-term cost.
This year, we’ve expanded the garden so we’ll have an even bigger harvest. We’re growing double the number of potatoes and triple the number of onions and other alliums. This means we need a lot more space to store the harvest. So, we decided to install a root cellar. This is not a job I can personally do, so we’re hiring someone to build it. Hopefully it will be finished by August, when the onions have finished curing.
What I can do, though, is learn about storing vegetables in a root cellar. I’ve never had one or known anybody with one so I’m not sure what all I can do with it. I’m pretty sure I can store a lot more than onions and potatoes in a root cellar. Vegetables like cabbage, winter squash, carrots, turnips, parsnips, and beets, can be stored in there, too, but there may be more potential than just vegetable storage.
Permanent footpath
Once the garden layout has been finalized and the beds have been filled, I am considering installing a permanent footpath through the garden. It would likely be made of gravel, but it would be incredibly inviting and make pushing a wheelbarrow through the garden much easier.
My family likes to visit the garden and walking through lumpy grass can be both difficult and dangerous, especially for those who are… more mature (they don’t like it when I say elderly). A permanent footpath would make it a lot easier for everyone to enjoy the garden while adding more structure and refinement.

Please excuse my really bad drawing skills—it’s hard to draw with a mouse—but the path would run something like the above. My garden layout spreadsheet is not to scale, so the path wouldn’t narrow like it’s shown. It would be around 2-3 feet wide for the entire length.
The path leading to the east (bottom of the diagram) would extend to the back porch area of my house while the other would lead to my garden work area, the nursery, and the shed. It is the path I take every day when walking through the garden.
I’d also like to note that I’m considering building a permanent dog chill zone for my dog, Flea, that would include a sheltered and shaded bed, water station, and a toy bin. That would likely go in the most shaded area of the garden, right behind the hoop house in the big, empty space.


Updates From The Nursery
My alliums, sown three weeks ago, have finished germinating. I think I achieved around 85% germination in the end, which is pretty good. I took the risk of sowing only single seeds in the soil blocks (I normally sow at least two seeds) and it ended up paying off. I used far less seed and got a great number of seedlings.


My alliums are growing faster, healthier, and more vibrant than last year. I’m glad I did the seed starter trial, because I owe a lot of the improvement to a better seed starting medium. Right now, I am using Coast of Maine’s organic seed starter because I had some issues with Fort Vee/Gardener’s Supply that I won’t get into here.
So far, I’ve fertilized the alliums once with a heavily diluted solution of liquid fertilizer and kelp. I’ll continue to fertilize them once a week until I start hardening them off at the end of March.
When they reached at least 5” tall, I topped them to around 1”. This encourages the seedling to grow thickly and strongly at its base and worked well for me last year.


The allium seedlings will be moving out of the germination stations and onto the larger growing racks until they are transplanted.
Orange hats
Baker Creek (rareseeds.com) sent me some Orange Hat extra-dwarf tomato seeds for free when I purchased some squash seeds from them. I sowed these seeds on January 20th and they have grown wonderfully since then. Right now, they are starting to really flower and I expect some cherry tomatoes in the next couple of weeks!
If you have any space in your home in your seed starting area or even on a south facing windowsill for a few 4” pots, I highly recommend growing these adorable, low-maintenance tomato plants. I’ll be succession sowing these indoors through winter year after year given how much fun these have been!


Other seedlings
When I sowed my alliums, I also sowed some pollinator plants. These included a couple of snapdragon varieties, salvia, and scarlet sage. The seedlings have been thinned out once and appear incredibly vibrant and happy in the nursery. I’ll be thinning them again and potting up the larger seedlings this week to make sure they don’t prematurely flower.


What’s getting sown this week
This week includes another seed starting day! I won’t have to sow quite as many seeds this time, thankfully—for the alliums I pressed almost 350 blocks. Right now, there are roughly nine weeks until our last expected frost date here in zone 7a, so I’m starting peppers and some of the more slowly growing pollinator plants.
I’ll be sowing:
Peppers
Aji Rico
Bastan Poblano
Black Magic Jalapeno
Highlander Anaheim
King Crimson
Milena orange bell
Nitro sweet
Olly red bell
Sumher hot (I ended up receiving these seeds on time!)
Eggplants
Violet Delite (straight)
Gaudi (egg-shaped)
Catnip
Echinacea
Lavender
Lots to be Excited About
With so many projects in motion, this year is shaping up to be one of my most exciting (and busiest!) yet. Between installing a new drip system, filling the raised beds, designing a root cellar, and sowing thousands of seeds, there’s plenty to do—but also so much to look forward to.
I’ll be sharing updates on the raised bed builds, in-ground beds, root cellar, pathway, Flea’s chill zone, and, of course, the plants as the season progresses. At this moment, I’m standing at the bottom of the mountain and wondering how I’ll get to the top. However, I feel this way pretty much every spring and I always laugh at myself come fall when I’m enjoying the view from the mountain top. So, I know it will end up working out somehow.
More room to grow means more room to experiment, learn, and improve—and I’m so excited to take you along if you’ll come with me. Here’s to a great season ahead!
Wowza Maddie! Thanks for posting the photos. It is really helpful to see the evolution of your garden and garden planning. This is so impressive!! I hope to see it in person one day.